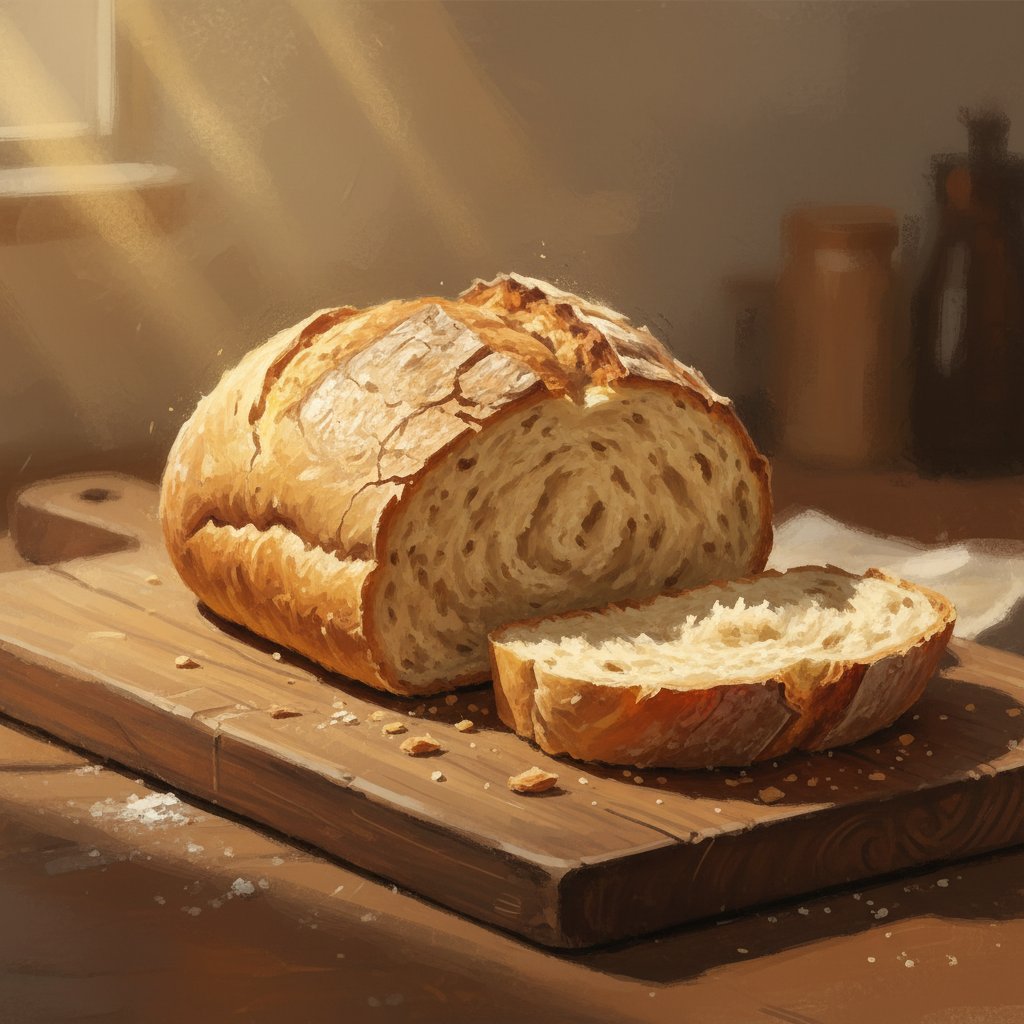
TL;DR
Baking with okara, the leftover pulp from making soy milk, is a fantastic way to create exceptionally moist and nutritious bread. The key to success is to cook the raw okara before adding it to your dough to remove any beany flavor and improve texture. You should also monitor your loaf while it bakes, as breads with soy tend to brown more quickly and may require a slightly lower oven temperature or to be covered with foil.
Understanding Okara: The Secret to Better Bread
Before you preheat your oven, it’s essential to understand your star ingredient. Okara is the Japanese term for the soybean pulp left behind after making soy milk or tofu. Instead of being discarded, this humble byproduct is a nutritional powerhouse, packed with fiber, protein, and calcium. Incorporating it into your baking is a brilliant zero-waste solution that adds incredible moisture and a tender crumb to breads and cakes.
If you’re making your own soy milk at home, you’ll have plenty of fresh okara to work with. For those looking to get started, finding the right equipment is key. A good plant milk maker can streamline the process, and you can find expert reviews and comparisons to help choose the best one for your kitchen. For a detailed breakdown of models, you can explore this comprehensive guide to the best plant milk makers from Soy Milk Quick.
The single most important step when baking with fresh, raw okara is to cook it first. As explained by baking experts at Soya Eats, this crucial step is non-negotiable for several reasons. Cooking neutralizes anti-nutritional factors, removes the raw, beany taste, reduces excess moisture, and deactivates enzymes that could interfere with your yeast’s activity. You can easily cook it by stirring it in a dry pan over low heat for about 5 minutes or by microwaving it for a few minutes until it’s no longer raw.
The moisture level in okara can vary greatly depending on how thoroughly it was pressed. This means you’ll need to be flexible with the liquid in your recipe. A good rule of thumb is to start with slightly less liquid than the recipe calls for and add more as needed until the dough feels right. While ratios vary, a general starting point is about one part okara to two parts flour by volume.
A Step-by-Step Recipe for Perfect Okara Bread
This recipe synthesizes techniques from several sources to create a reliable and delicious loaf. It’s a versatile base that works well with commercial yeast, but can also be adapted for sourdough enthusiasts. The combination of bread flour and whole wheat flour provides a great balance of structure and wholesome flavor.
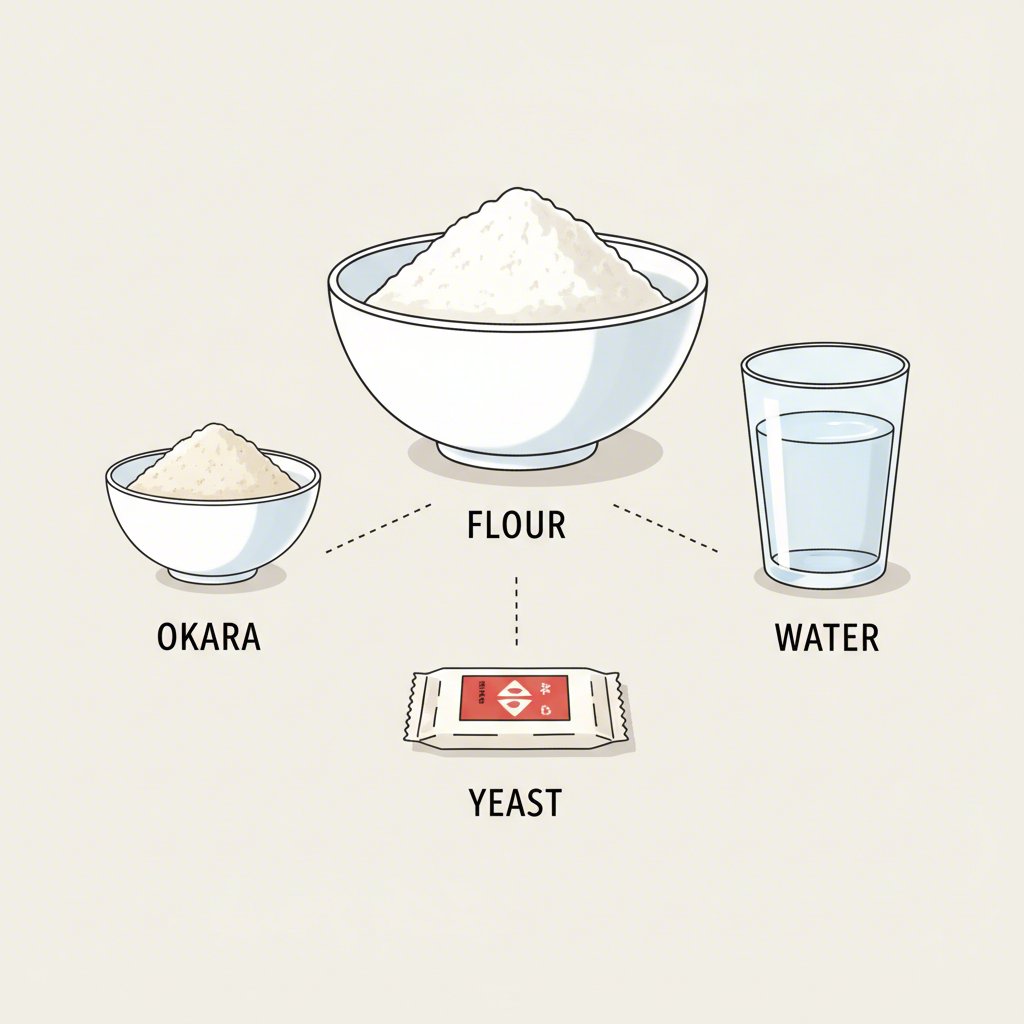
Ingredients You’ll Need
- 1 cup fresh okara, cooked and cooled
- 1 ½ cups whole wheat flour
- 2 ½ cups bread flour
- 1 packet (¼ ounce) instant dry yeast
- 1 ½ cups warm water or soy milk (approx. 110°F/43°C)
- 3 tbsp oil or softened butter
- 1 tbsp sugar or molasses
- 1 ½ tsp salt
Instructions
- Prepare the Okara: If you haven’t already, cook your fresh okara in a dry skillet over medium-low heat for about 5 minutes, stirring frequently until the raw smell is gone. Set it aside to cool completely.
- Activate the Yeast: In a large mixing bowl, combine the warm water (or soy milk), sugar, and yeast. Let it sit for 5-10 minutes until it becomes foamy. This step ensures your yeast is active and ready to work.
- Combine Ingredients: Add the cooled okara, oil, and salt to the yeast mixture and stir to combine. In a separate bowl, whisk together the whole wheat and bread flours. Gradually add the flour mixture to the wet ingredients, mixing until a shaggy dough forms.
- Knead the Dough: Turn the dough out onto a lightly floured surface and knead for 8-10 minutes until it becomes smooth and elastic. If using a stand mixer, use the dough hook attachment and knead on medium-low speed for 6-8 minutes. The dough should be slightly tacky but pull away from the sides of the bowl.
- First Rise: Place the dough in a lightly oiled bowl, cover it with plastic wrap or a damp cloth, and let it rise in a warm, draft-free spot for 1-2 hours, or until it has doubled in size.
- Shape and Second Rise: Gently punch down the dough and turn it out onto your work surface. Shape it into a log and place it seam-side down in a greased 9×5-inch loaf pan. Cover the pan and let it rise again for about 45-60 minutes, or until the dough has risen about an inch above the rim of the pan.
- Bake the Loaf: About 15 minutes before the second rise is complete, preheat your oven to 350°F (180°C). Bake the bread for 35-45 minutes. According to a detailed recipe from What to Cook Today, you can test for doneness by inserting a toothpick into the center; it should come out clean. The loaf should also sound hollow when you tap the top.
- Cool Completely: Let the bread cool in the pan for 10 minutes before turning it out onto a wire rack to cool completely. Waiting until it’s fully cool is crucial for the internal structure to set, which makes for much easier slicing.
Troubleshooting and Pro-Tips for Your Best Loaf
Baking with a high-moisture ingredient like okara can present a few unique challenges, but they are easily managed with a few pro-tips. The most common issues are managing the dough’s hydration and controlling how quickly the crust browns.
Because the water content in okara is inconsistent, your dough might feel stickier than you’re used to. If it’s too wet to handle, resist adding too much extra flour, which can make the bread dense. Instead, try using oiled or wet hands to manage the dough during shaping. Squeezing excess liquid from the okara with a cheesecloth before cooking it can also help you start with a more predictable hydration level.
Another common observation is that baked goods containing soy tend to brown faster. This is due to the sugars and proteins in the soy accelerating the Maillard reaction. If you notice your crust is getting too dark before the inside is fully cooked, simply tent the loaf with a piece of aluminum foil for the last 10-15 minutes of baking. Some bakers also recommend reducing the oven temperature by 25°F to slow down the browning process.
| Problem | Solution |
|---|---|
| Dough is too wet and sticky | Squeeze excess moisture from okara before use. Use wet or oiled hands to shape the dough. Add extra flour one tablespoon at a time only if absolutely necessary. |
| Crust is too dark, but inside is undercooked | Tent the loaf with aluminum foil halfway through baking. You can also try reducing the oven temperature by 25°F (about 15°C). |
| Bread is dense and heavy | Ensure you have kneaded the dough long enough to develop sufficient gluten. Also, confirm your yeast was properly activated and allow the dough to fully double in size during both rises. |
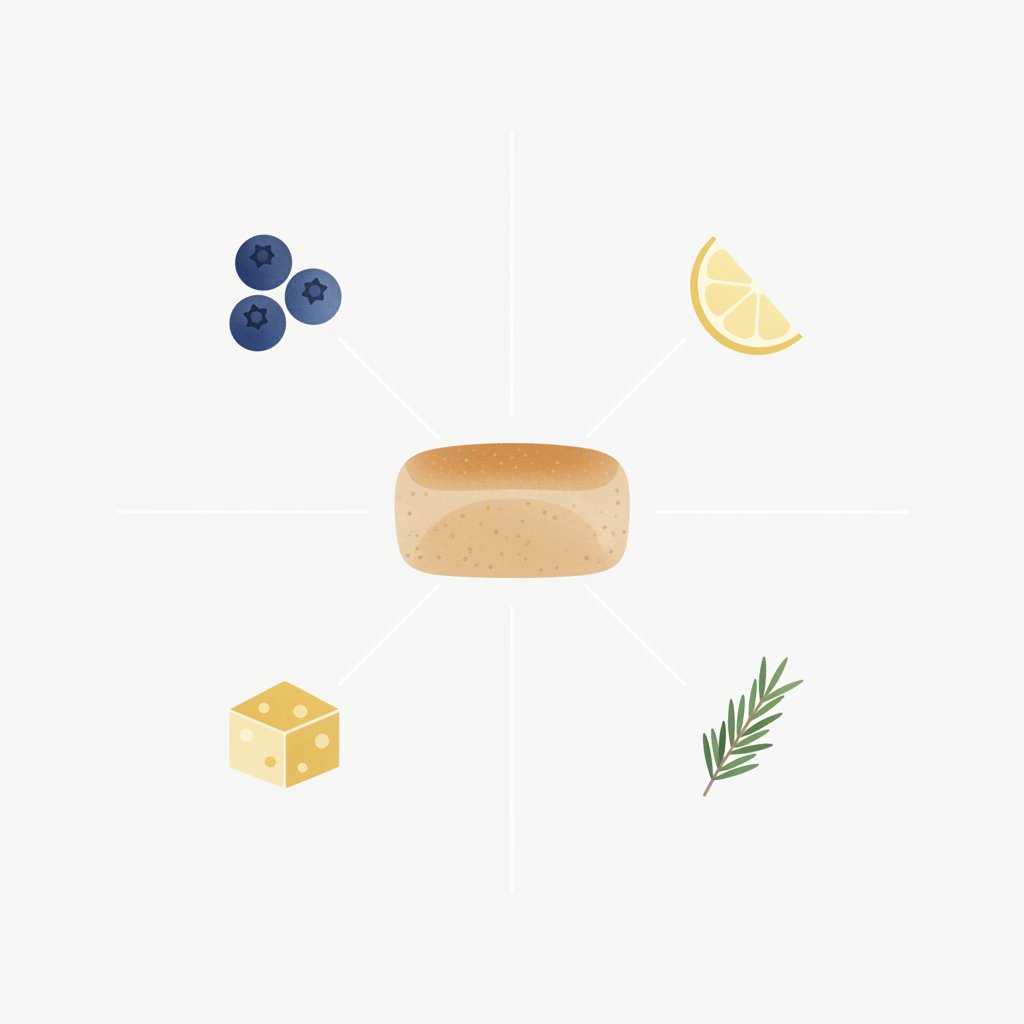
Creative Variations: Beyond the Basic Loaf
Once you’ve mastered the basic loaf, you can use okara as a base for a wide range of delicious baked goods. Its mild flavor and moisture-enhancing properties make it incredibly versatile. You can easily adapt the foundational recipe to explore both sweet and savory creations.
For a sweet treat, consider adding fruit and spices. A popular variation is a quick bread, like the Blueberry Lemon Okara Bread, which has a tender, pound cake-like texture. You could also adapt the recipe for banana bread by adding mashed bananas and cinnamon, or make a festive loaf with dried cranberries and orange zest.
On the savory side, okara is perfect for dinner rolls. Simply divide the dough into equal portions, shape them into balls, and bake for a shorter time (around 20-25 minutes). You can also incorporate other ingredients to create different flavor profiles:
- Cheddar and Herb: Mix in a cup of shredded sharp cheddar cheese and a tablespoon of chopped fresh herbs like rosemary or chives into the dough before the first rise.
- Garlic and Parmesan: Add a teaspoon of garlic powder to the dry ingredients and brush the baked loaf or rolls with melted butter mixed with grated Parmesan cheese.
- Whole Grain Sourdough: For a more complex flavor, you can adapt the recipe to use a sourdough starter instead of commercial yeast, as demonstrated in this whole wheat sourdough okara recipe. This will require longer fermentation times but yields a delicious, tangy result.
While creating a gluten-free okara bread is more challenging and requires a specialized gluten-free flour blend, the possibilities for wheat-based variations are nearly endless. Don’t be afraid to experiment with your favorite flavors.
Frequently Asked Questions About Baking with Okara
1. What is the ratio of okara to flour?
There is no single perfect ratio because the moisture content of okara varies. However, a reliable starting point is approximately a 1:2 ratio of okara to flour by volume. For a more precise measurement, some bakers prefer a 2:5 ratio of okara to flour by weight. It’s always best to be prepared to adjust the liquid or flour slightly to achieve the right dough consistency.
2. Do you need to cook okara before baking?
Yes, it is highly recommended. Cooking raw okara before adding it to your bread dough is essential for the best results. This step removes the raw, beany flavor, gets rid of excess moisture, and neutralizes certain compounds that can hinder yeast activity and nutrient absorption. A few minutes in a dry pan or the microwave is all it takes.
3. What’s the best way to cook with okara?
For baking preparations like bread, the best method is to pan-fry the fresh okara in a dry, non-stick skillet over medium-low heat. Stir constantly for 5-10 minutes until it is lightly toasted and the raw smell has disappeared. This method has the dual benefit of cooking the okara while also helping to evaporate some of its excess moisture, which gives you more control over your dough’s hydration.