TL;DR
Yes, you can whip soy milk into a delicious, fluffy cream, but not on its own. Due to its low fat content, plain soy milk won’t whip. The secret is to create a stable emulsion by blending it in a high-speed blender with a high-fat oil, like refined coconut oil. This process adds the necessary fat to trap air, resulting in a perfectly whippable, dairy-free cream.
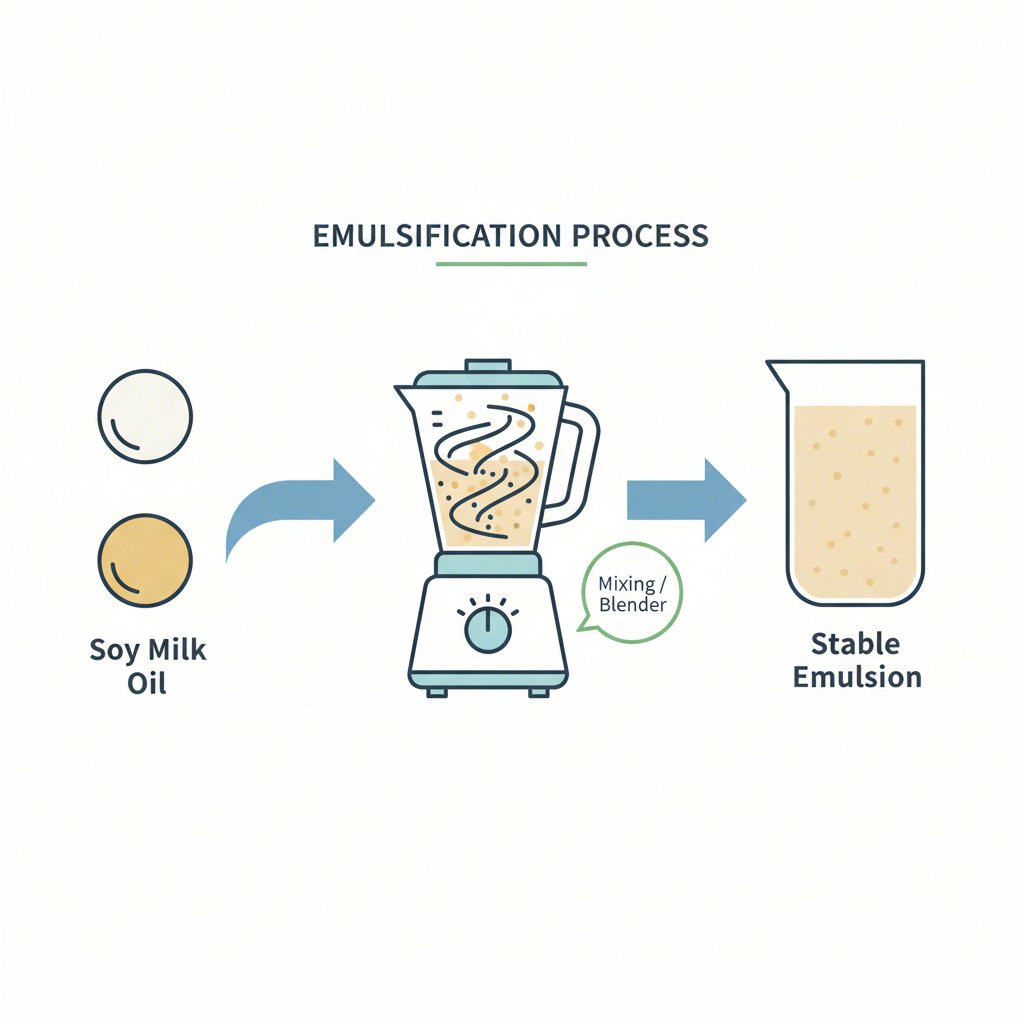
The Science Behind Soy Whipped Cream: Why Fat is Essential
The magic of traditional whipped cream lies in its high fat content, typically over 30%. When you whisk dairy cream, the fat globules are agitated, and their protective membranes break apart. These fat molecules then link together, forming a stable network that traps air bubbles, creating that light, airy structure we love. Plain soy milk, however, contains very little fat, which is why whipping it by itself will only leave you with bubbly liquid.
To overcome this, you must introduce fat into the system and create an emulsion—a stable mixture of two liquids that don’t normally combine, like oil and water. By blending soy milk with a significant amount of oil in a high-speed blender, you forcefully break the oil down into microscopic droplets. These droplets become suspended evenly throughout the soy milk, creating a thick, creamy base that mimics dairy cream.
The choice of fat is critical. As explained in a detailed analysis by Kitchen Projects, refined coconut oil is often preferred because it’s solid when chilled. When the emulsified mixture is refrigerated, the tiny coconut oil droplets solidify, creating a firm structure that is much more effective at trapping air during the whipping process. This is the same principle that makes coconut cream a popular, though often unreliable, whipping alternative.
This soy-based method provides a fantastic solution for those seeking a vegan whipped cream without a strong coconut flavor. The proteins in the soy milk also act as natural stabilizers, helping to hold the emulsion together. The key takeaway is that you are not just whipping soy milk; you are whipping a carefully constructed, high-fat cream that you create from scratch. A powerful blender is essential to create a fine, stable emulsion that won’t separate or feel greasy.
Key Ingredients and Equipment for Success
Creating a fool-proof soy whipped cream depends on using the right ingredients and tools. Each component plays a specific role in building the structure and flavor of the final product. Getting these details right will set you up for guaranteed success.
Core Ingredients:
- Soy Milk: Unsweetened and unflavored soy milk is the ideal choice, as it provides a neutral base and allows you to control the sweetness. The proteins in soy milk help stabilize the emulsion. For the absolute freshest taste, you can even make your own soy milk at home. If you’re exploring that option, resources like Soy Milk Quick offer detailed guides on the best plant milk makers to find a machine that fits your needs.
- Oil: This is the most crucial ingredient for creating structure. As recommended by experts at School Night Vegan, deodorized (or refined) coconut oil is the top contender because it solidifies when cold, yielding a firmer, more stable whip without imparting a coconut flavor.
- Sweetener & Flavor: Powdered sugar (icing sugar) dissolves easily without adding extra moisture. Maple syrup is another option. A dash of vanilla extract provides the classic whipped cream flavor.
- Optional Stabilizer: For an even more stable cream that holds its shape longer, a tiny pinch of guar gum or xanthan gum can be added during the blending process. This is a professional tip that helps prevent the cream from weeping.
Essential Equipment:
- High-Speed Blender: This is non-negotiable. A powerful blender (like a Ninja or Nutribullet) is necessary to create a truly stable emulsion. An immersion blender can also work if it’s powerful enough.
- Electric Mixer: While you could whip it by hand, a stand mixer with a whisk attachment or an electric hand mixer will make the final step much faster and easier.
- Chilled Bowl and Whisk: Temperature is critical. Chilling your mixing bowl and whisk attachments in the freezer for 15-30 minutes before whipping helps keep the fat cold and firm, allowing it to trap air more effectively.
| Oil Type | Texture & Stability | Flavor Profile |
|---|---|---|
| Refined Coconut Oil | Excellent. Solidifies when cold, creating a very firm and stable whipped cream. | Neutral. The refining process removes any coconut taste. |
| Sunflower/Canola Oil | Good. Creates a softer whip as these oils remain liquid when cold. May not be as stable for piping. | Neutral. Choose a high-quality, flavorless oil. |
Step-by-Step Recipe for Fool-Proof Soy Whipped Cream
This consolidated recipe combines best practices from trusted sources to give you a reliable method for perfect vegan whipped cream every time. The key to success is following the temperature and chilling instructions precisely. Pay close attention to each step, and you’ll be rewarded with a light, fluffy, and delicious topping.
- Prepare Your Ingredients: Gently warm the soy milk until it is lukewarm to the touch (not hot). This can be done in the microwave in 10-second bursts. At the same time, melt your refined coconut oil until it is fully liquid. Having both ingredients at a similar, slightly warm temperature is crucial for a successful emulsion.
- Blend to Emulsify: Pour the lukewarm soy milk into a high-speed blender, followed by the melted coconut oil. Blend on the highest speed for 1 to 2 minutes. The mixture should become completely smooth, creamy, and homogenous, with no signs of separation.
- Chill Thoroughly: Pour the blended cream base into an airtight container or jar and transfer it to the refrigerator. This is the most important waiting period. The cream must chill for a minimum of 4 hours, but for the best, most reliable results, chill it overnight. The mixture needs to be completely cold and significantly thickened before you can whip it.
- Prepare for Whipping: About 30 minutes before you plan to whip, place your stand mixer bowl (or a large metal bowl) and the whisk attachment in the freezer. A cold environment is essential for helping the fat globules trap air effectively.
- Whip the Cream: Take the chilled cream base from the fridge. It should be thick, similar to a pudding. Scrape it into your chilled mixing bowl. Begin whipping on a low speed with your electric mixer, gradually increasing the speed to high as it starts to thicken.
- Add Sweetness and Flavor: Once the cream begins to form soft peaks, add the powdered sugar and vanilla extract. Continue to whip on high speed.
- Whip to Desired Peaks: Keep whipping until the cream is light, fluffy, and holds its shape, forming either soft or stiff peaks depending on your preference. Be careful not to over-whip, as the emulsion can eventually break and become grainy. Serve immediately or store in a sealed container in the fridge.

Troubleshooting Common Problems
Even with a great recipe, things can sometimes go awry. Don’t worry—most issues with soy whipped cream are easy to fix or prevent. Understanding the cause of a problem is the first step to solving it. Here are some common issues and how to troubleshoot them for guaranteed success.
One of the most frequent complaints is that the cream simply won’t get fluffy. If your mixture remains liquidy after several minutes of whipping, the cause is almost always temperature. The emulsified base must be thoroughly chilled (ideally overnight), and your bowl and beaters should be cold as well. If the fat isn’t cold enough, it can’t form the stable structure needed to hold air bubbles. If you encounter this, try placing the bowl with the cream back in the freezer for 15-20 minutes and then attempt to whip it again.
Another dreaded issue is a split or curdled cream, where the mixture looks broken and grainy. This happens when the emulsion breaks, either from over-whipping or from temperature shock. If you whip the cream for too long after it has reached stiff peaks, the fat can clump together and separate from the liquid, similar to how dairy cream turns into butter. To fix a slightly curdled cream, one helpful tip is to gently stir in a few tablespoons of liquid soy milk to help it smooth out again. Prevention is key: watch the cream closely and stop whipping as soon as it reaches your desired consistency.
| Problem | Solution |
|---|---|
| It won’t get fluffy or thicken. | The cream base, bowl, or beaters are not cold enough. Chill everything thoroughly and try again. Ensure you’ve allowed the base to set in the fridge for at least 4 hours, preferably overnight. |
| It split and looks curdled. | You likely over-whipped it. Stop immediately. Try gently folding in a tablespoon or two of liquid soy milk to see if it will recombine. Next time, stop whipping as soon as stiff peaks form. |
| It solidified into a hard block in the fridge. | This can sometimes happen if your ratio of coconut oil is very high or if you used a plant milk like oat milk, which can behave differently. Let it sit at room temperature for 10-15 minutes to soften slightly, then break it up and try whipping. Soy milk is generally the most reliable option. |
Frequently Asked Questions
-
Can you turn soy milk into whipped cream?
Yes, absolutely, but not by itself. To successfully turn soy milk into whipped cream, you must add a high-fat oil (like refined coconut oil) and blend them together in a high-speed blender to create a stable, fatty emulsion. This mixture is then chilled until very cold and thick, after which it can be whipped into a light and fluffy cream.
-
Can plant-based cream be whipped?
Yes, many types of plant-based cream can be whipped, provided they have a high enough fat content. The most common is coconut cream, which is the thick, solid part from a chilled can of full-fat coconut milk. Additionally, you can make whippable creams at home using bases like soy milk or cashews combined with oil, as described in this article. There are also commercial vegan whipping creams available that are specifically formulated for this purpose.
-
Can you sub soy milk for cream?
You cannot substitute soy milk directly for heavy whipping cream in a 1:1 ratio and expect it to whip. However, you can use soy milk as the base to create a heavy cream substitute. For a whipping cream substitute, you must follow the process of emulsifying it with oil. For a liquid heavy cream substitute in sauces or soups, a simple blend of 2/3 cup soy milk and 1/3 cup of a neutral oil can work well to add richness and a creamy texture.
What ratio of soy milk to oil?