TL;DR
To keep your homemade soy milk fresh, store it immediately in a sterile, airtight container in the coldest part of your refrigerator—not the door. Because it lacks preservatives, it has a short shelf life, typically lasting between 3 to 5 days. While you can freeze homemade soy milk to extend its life for up to three months, be aware that the texture may separate upon thawing, making it best for smoothies or cooking rather than drinking straight.
The Essentials of Soy Milk Spoilage and Refrigeration
One of the first things new soy milk makers discover is that a fresh batch doesn’t last nearly as long as its store-bought counterpart. This is because commercial soy milks are pasteurized and contain preservatives to extend their shelf life. As Cadry’s Kitchen points out, homemade versions are all-natural, which means they are also more perishable. Understanding how to handle your fresh milk from the moment it’s made is key to enjoying every drop.
The golden rule for storage is immediate and proper refrigeration. After cooking your soy milk, it’s crucial to cool it down as quickly as possible before storing it. Leaving it at room temperature for too long can encourage bacterial growth. Once cooled, pour the milk into a sterile, airtight container. Many experienced cooks, like the one at Sift & Simmer, prefer using glass jars or bottles because they don’t absorb or transfer flavors and are easy to sterilize.
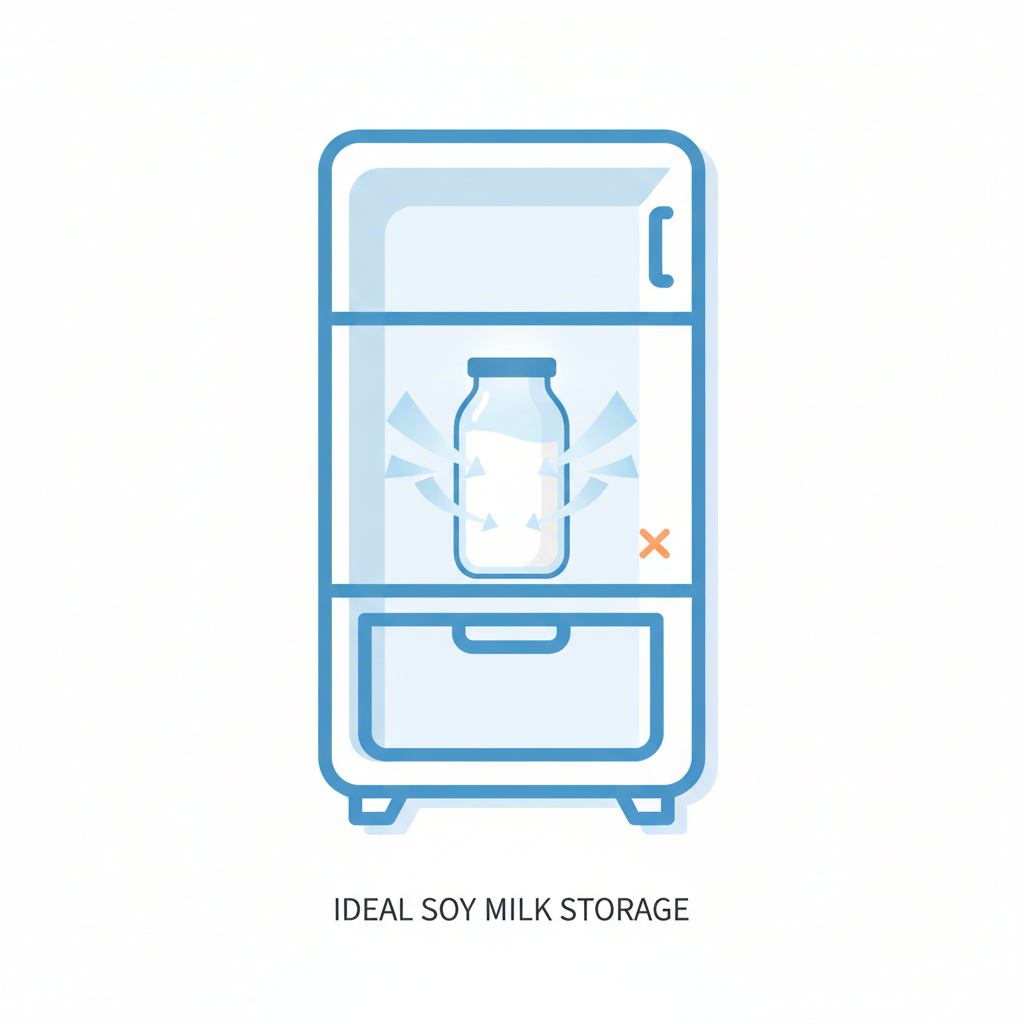
Where you store it in the fridge also matters. The temperature inside a refrigerator isn’t uniform. The door is the warmest spot due to frequent opening and closing. To maximize freshness, Mary’s Test Kitchen advises placing your soy milk at the back of the fridge where the temperature is coldest and most stable. When stored correctly, you can expect your homemade soy milk to last for 3 to 5 days, though some find it can last up to a week if preparation and storage conditions are perfect.
For best results, follow these simple refrigeration practices:
- Cool Rapidly: After cooking, place the pot of soy milk in an ice bath to cool it down quickly before refrigerating.
- Use Sterile Containers: Always use clean, sterilized glass jars or bottles with airtight lids to prevent contamination.
- Store in the Coldest Spot: Place your container at the back of the lowest shelf in your refrigerator, avoiding the door completely.
- Make Small Batches: To avoid waste, only make as much soy milk as you can comfortably consume within three to four days.
Long-Term Storage: Freezing Homemade Soy Milk
If you’ve made a larger batch than you can use in a few days, freezing is a viable option for long-term storage. You can safely freeze homemade soy milk for up to three months. However, it’s important to go into it with the right expectations. Unlike commercial products that contain stabilizers and emulsifiers, homemade soy milk’s texture will change after being frozen and thawed. It often separates and can become watery or grainy, making it less pleasant for drinking straight from a glass.
This texture change happens because the water and soy particles freeze at different rates, causing them to separate. When thawed, they don’t always fully recombine into the smooth, creamy liquid you started with. Despite this, frozen soy milk is far from useless. It works wonderfully in recipes where a perfectly smooth texture isn’t critical. Think smoothies, soups, oatmeal, and baked goods—these are all excellent applications for your thawed soy milk, ensuring nothing goes to waste.
To help you decide if freezing is right for you, consider the pros and cons:
| Pros of Freezing | Cons of Freezing |
|---|---|
| Significantly extends shelf life up to 3 months. | Texture degrades, causing separation and a watery consistency. |
| Reduces food waste from large batches. | Not ideal for drinking plain, in coffee, or with cereal. |
| Convenient for having portions ready for cooking. | Requires proper thawing time in the refrigerator. |
If you decide to freeze your soy milk, follow these steps for the best outcome:
- Cool Completely: Never freeze warm soy milk. Ensure it has been fully chilled in the refrigerator first.
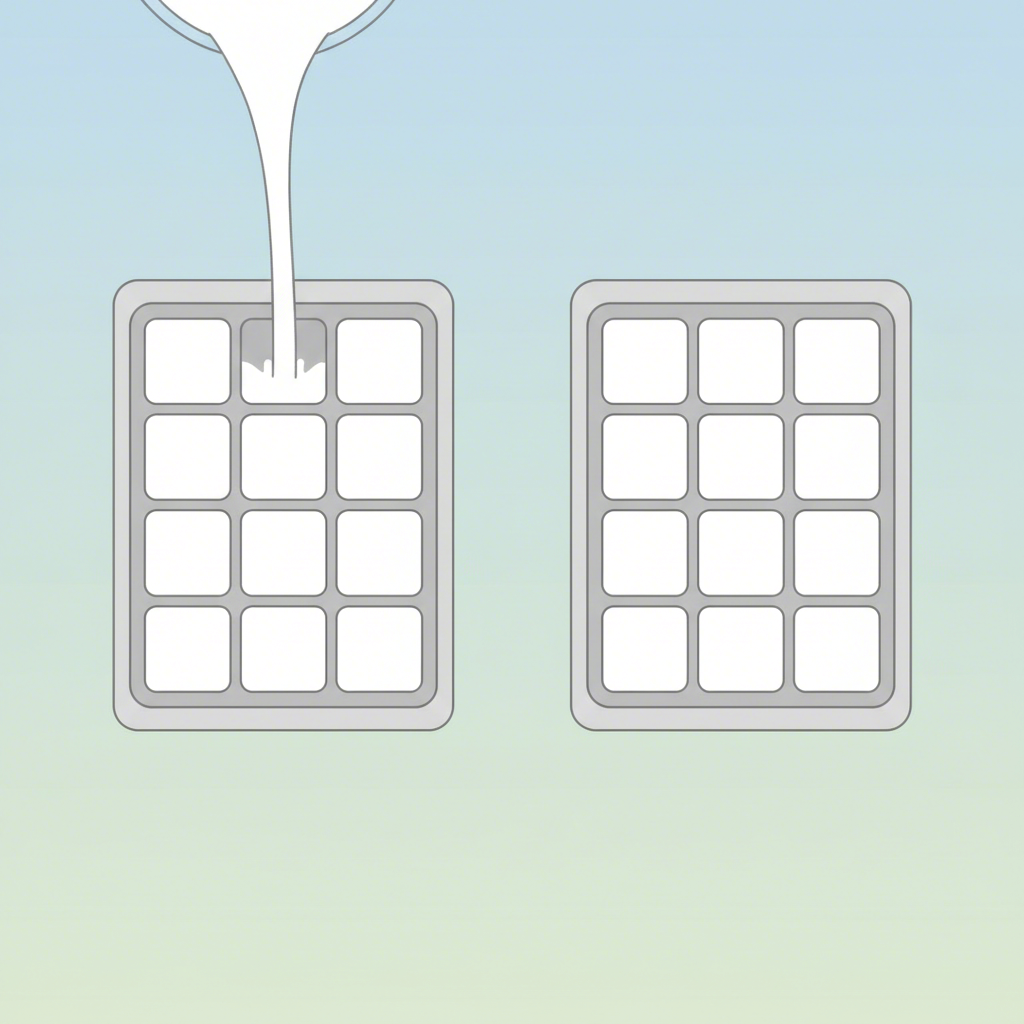
- Choose the Right Container: Pour the milk into freezer-safe containers, leaving at least an inch of headspace at the top to allow for expansion as it freezes. Ice cube trays are perfect for freezing small, convenient portions for smoothies.
- Label and Date: Clearly label the container with the date so you can keep track of its freshness.
- Thaw Properly: When you’re ready to use it, transfer the frozen soy milk to the refrigerator to thaw overnight. As The Coconut Mama cautions, do not thaw it at room temperature or in the microwave, as this can cause uneven warming and spoilage. Shake or blend the thawed milk vigorously to help re-emulsify it before use.
How to Identify and Prevent Spoilage
Knowing when your homemade soy milk has gone bad is crucial for your health and safety. Since it lacks preservatives, the signs of spoilage can appear quickly. The most reliable way to check your milk is to use your senses. The first sign is often a sour or fermented smell, similar to spoiled dairy milk. Visually, you might notice a lumpy, curdled, or clumpy texture when you pour it. Any discoloration, such as a yellowish tint, is another clear warning sign. If you’re ever in doubt, it’s always safest to discard it.
Prevention, however, is always better than cure. The shelf life of your soy milk begins with how you make it. Starting with high-quality ingredients and maintaining a sterile environment can make a significant difference in how long your milk stays fresh. Thoroughly cooking the soy milk for at least 10-20 minutes not only eliminates any raw, beany taste but also helps kill off bacteria that could lead to faster spoilage.
Ensuring your equipment is perfectly clean and the milk is prepared consistently is crucial. For those who make plant-based milks often, exploring a dedicated device can simplify this process. If you’re looking to craft fresh, additive-free plant-based milks right in your kitchen, Soy Milk Quick offers an expert guide to the best plant milk makers for every need and budget, featuring detailed comparisons to help you find the perfect machine.
To give your homemade soy milk the best chance at a longer life, follow this pre-storage checklist during preparation:
- Start with Quality Beans: Use fresh, high-quality, non-GMO soybeans. Inspect them and discard any that are cracked or discolored.
- Sterilize Your Equipment: Before you begin, make sure your blender, pots, utensils, and storage jars are thoroughly cleaned and sterilized.
- Cook It Thoroughly: Simmer the raw soy milk for at least 10-20 minutes. This step is essential for both safety and flavor.
- Cool Down Fast: Rapidly cool the cooked milk in an ice bath before transferring it to the refrigerator. This minimizes the time it spends in the temperature danger zone where bacteria thrive.
- Use Airtight Containers: Store the cooled milk in airtight glass containers to protect it from air and contaminants in the fridge.
Your Path to Fresh Homemade Soy Milk
Making your own soy milk is a rewarding process that gives you complete control over the ingredients and flavor. While it may not last as long as commercial varieties, proper storage techniques can help you enjoy its fresh, creamy taste for days. By focusing on cleanliness during preparation, cooling the milk rapidly, and storing it in an airtight container in the coldest part of your fridge, you set yourself up for success. And for any excess, the freezer offers a practical way to preserve your efforts for future cooking and smoothie-making adventures.
Frequently Asked Questions
1. How do I store freshly made soy milk?
The best way to store freshly made soy milk is to cool it quickly after cooking, then pour it into a sterilized, airtight container, preferably made of glass. Store it at the back of your refrigerator, where the temperature is coldest, and consume it within 3 to 5 days for optimal freshness and safety.
2. Is it worth making your own soy milk?
Making your own soy milk can be very worthwhile. It is often more affordable than buying pre-made versions and allows you to control the ingredients, avoiding sweeteners, preservatives, and other additives. While it requires some time and effort, the result is a fresh, nutritious plant-based milk that you can customize to your taste.
3. Can homemade soy milk be frozen?
Yes, you can freeze homemade soy milk for up to three months to extend its shelf life. However, be aware that freezing will likely change its texture, causing it to separate and become watery upon thawing. For this reason, thawed soy milk is best used in recipes like smoothies, soups, or baked goods where texture is less important.