
TL;DR
Yes, you can make incredibly creamy and delicious ice cream using soy milk! The process involves creating a simple custard-style base with soy milk, sugar, and a thickener like cornstarch. This base is then thoroughly chilled before being processed in an ice cream maker. For those without special equipment, an easy no-churn method using a blender or hand mixer can also yield fantastic, scoopable results right from your freezer.
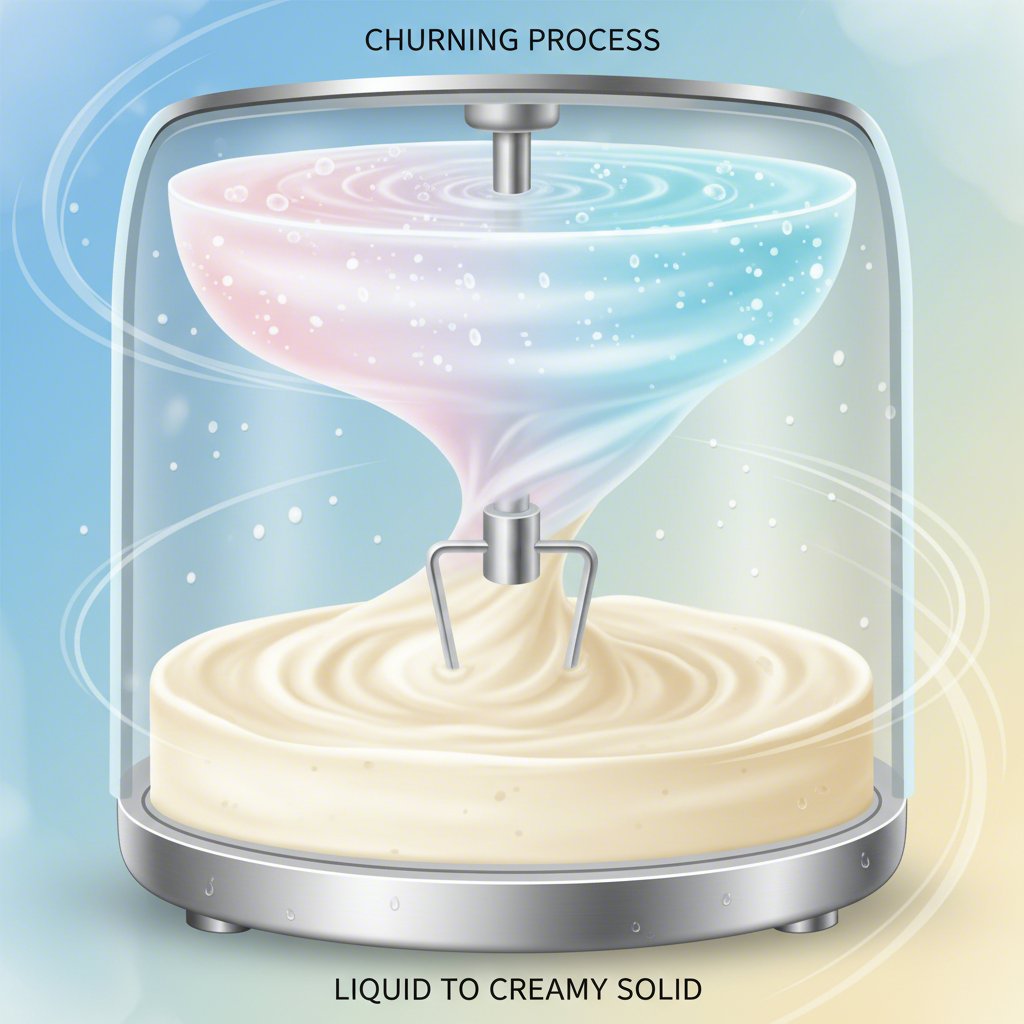
The Classic Vanilla Soy Milk Ice Cream (Churn Method)
For a truly classic ice cream experience, the churn method is your best friend. This technique creates a rich, smooth texture by continuously mixing the base as it freezes, which prevents large ice crystals from forming. The heart of this recipe is a dairy-free custard, which gives the final product a wonderful depth of flavor and a satisfyingly creamy mouthfeel. You’ll be amazed at how a few simple ingredients can transform into such a decadent treat.
The quality of your soy milk plays a significant role in the final flavor. A high-quality, unsweetened soy milk will allow the vanilla to shine through. For the freshest, most vibrant flavor, some home cooks even prefer to make their own plant-based milks. If you’re curious about creating your own milks for this and other recipes, Soy Milk Quick offers a comprehensive guide to the best plant milk makers, helping you find a machine that fits your kitchen needs.
To achieve that perfect creamy consistency, this recipe relies on a combination of egg yolks and cornstarch as stabilizers. The egg yolks add richness, while the cornstarch helps ensure a smooth, scoopable texture without any iciness. If you need an egg-free or vegan version, you can simply omit the egg yolks and increase the cornstarch slightly.
Ingredients:
- 2 cups unsweetened soy milk
- 1 cup powdered sugar
- 4 large egg yolks (for a vegan version, omit and use 2 teaspoons cornstarch total)
- 1 teaspoon cornstarch
- 1 teaspoon pure vanilla extract
- A pinch of salt
Instructions:
- In a medium bowl, whisk together the powdered sugar, egg yolks (if using), and cornstarch until a smooth paste forms. Set aside.
- Pour the soy milk and salt into a medium saucepan and heat over medium heat until it’s hot and steaming, but not boiling.
- Very slowly, pour about half of the hot soy milk into the egg yolk mixture while whisking constantly. This is called tempering and prevents the eggs from scrambling.
- Pour the tempered egg mixture back into the saucepan with the remaining soy milk.
- Cook over low-medium heat, stirring constantly with a wooden spoon or spatula, until the mixture thickens enough to coat the back of the spoon (about 5-7 minutes). Do not let it boil.
- Remove from heat and stir in the vanilla extract.
- Strain the mixture through a fine-mesh sieve into a clean bowl to remove any lumps.
- Cover and chill the base in the refrigerator for at least 4 hours, or overnight, until it is completely cold. This step is crucial for a creamy texture.
- Pour the chilled mixture into your ice cream maker and churn according to the manufacturer’s instructions, as detailed in recipes like this one from Food.com.
- Transfer the finished ice cream to a freezer-safe container and freeze for at least 2-3 hours to firm up before serving.
Easy No-Churn Soy Milk Ice Cream (No Special Equipment)
Don’t have an ice cream maker? No problem! You can still achieve a wonderfully creamy soy milk ice cream without any special equipment. The secret to no-churn ice cream is incorporating fat and air to minimize ice crystals, creating a smooth texture through a different method. This approach is perfect for beginners and makes homemade dairy-free ice cream accessible to everyone.
One popular no-churn method involves using a high-fat ingredient like full-fat coconut milk or coconut oil combined with a blender or hand mixer to whip air into the base before freezing. Another simple technique uses a blender to process frozen cubes of sweetened soy milk, breaking up the ice crystals mechanically. Both methods are straightforward and deliver delicious results with minimal fuss.
No-Churn Blender Method Ingredients:
- 2 cups soy milk
- 1/2 cup granulated sugar or maple syrup
- 1 teaspoon vanilla extract
- 2 tablespoons neutral oil (like refined coconut or canola) or 1/4 cup raw cashews, soaked
No-Churn Blender Method Instructions:
- Whisk the soy milk, sweetener, and vanilla together until the sugar dissolves.
- Pour the mixture into standard ice cube trays and freeze until solid, at least 4 hours.
- Place the frozen soy milk cubes into a high-speed blender. Add the oil or soaked cashews.
- Blend on high, using the blender’s tamper to push the cubes down, until the mixture is completely smooth and creamy like soft-serve.
- Serve immediately for a soft-serve consistency, or transfer to a freezer-safe container and freeze for 1-2 hours to firm up.
To help you decide which method is right for you, here’s a quick comparison:
| Feature | Churn Method | No-Churn Method |
|---|---|---|
| Texture | Extremely smooth and creamy, very similar to traditional dairy ice cream. | Can be very creamy, though sometimes slightly denser or icier depending on the technique. |
| Ease of Making | Requires more prep (cooking a custard) and an ice cream maker. | Simpler ingredients and process; uses common kitchen tools like a blender. |
| Equipment Needed | Ice cream maker is essential. | High-speed blender or hand mixer. |
Flavor Variations and Customizations
Once you’ve mastered the vanilla base, a world of flavor possibilities opens up. The neutral, slightly sweet taste of soy milk is the perfect canvas for all sorts of creative additions. Whether you’re a fan of rich chocolate, robust coffee, or fresh fruit, you can easily adapt the base recipe to suit your cravings. The key is knowing when and how to add your flavorings for the best results.
For powdered ingredients like cocoa or espresso powder, it’s best to whisk them into the sugar and cornstarch mixture at the beginning to ensure they dissolve completely. For liquid flavorings like fruit puree or coffee, they can be stirred into the base before chilling. Solid mix-ins like chocolate chips or crushed cookies should always be added at the very end of churning or folded in just before the final freeze for no-churn versions.
Here are a few popular variations to get you started, inspired by creative recipes like those found at Laura Soybeans:
- Rich Chocolate: Whisk 1/2 cup of unsweetened cocoa powder into the dry ingredients before making the custard base. For an even deeper flavor, add 2 ounces of melted and cooled dairy-free dark chocolate to the base before chilling.
- Bold Coffee: Dissolve 2 tablespoons of instant espresso powder in 2 tablespoons of hot water and add it to the base along with the vanilla extract. Alternatively, you can steep a 1/2 cup of whole coffee beans in the soy milk as it heats, then strain them out before tempering the eggs.
- Fresh Strawberry: Puree 1 cup of fresh or frozen strawberries with 1-2 tablespoons of sugar. After the vanilla base is cooked and cooled, swirl the strawberry puree into it before churning. Adding fruit puree can increase water content, so ensure your base is well-chilled.
- Cookies & Cream: Churn your vanilla ice cream according to the recipe. In the last minute of churning, add 1 cup of roughly chopped chocolate sandwich cookies.
Don’t be afraid to experiment! Other fantastic mix-ins include a swirl of peanut butter or vegan caramel, a handful of toasted nuts, or dairy-free chocolate chips. The possibilities are truly endless.
Frequently Asked Questions
1. Can you turn soy milk into ice cream?
Absolutely! Soy milk is an excellent base for homemade ice cream. By creating a custard with soy milk, a sweetener, and a stabilizer like cornstarch or egg yolks, you can achieve a rich and creamy texture. The key is to chill the base thoroughly before churning it in an ice cream maker or using a no-churn method to prevent ice crystals from forming.
2. Why can’t you freeze soy milk?
While you can freeze soy milk, freezing it directly in its carton is not recommended. The water and solids in the milk separate during the freezing process. When thawed, the soy milk will often have a grainy, lumpy texture that is unpleasant for drinking. However, this separation is not an issue when making ice cream, as the process of adding sugar, fats, and stabilizers creates a stable emulsion that freezes into a smooth, creamy dessert.
Нужна стальная лента? лента стальная широкий ассортимент, разные толщины и марки стали. Выгодные цены, быстрая отгрузка и поставки для производства и строительства
проведение свадьбы в москве заказать свадьбу под ключ
mostbet вход через зеркало mostbet вход через зеркало
mostbet çıxarış təlimatı https://mostbet45039.help/
Если честно, сам перерыл кучу форумов в поисках нормальной ткани для мебели. Оказалось, что выбрать подходящий вариант совсем непросто. В общем, смотрите, вот здесь реально толково расписано про плотность, ворс и износостойкость для диванов и кресел, а главное — показаны варианты, которые не выцветают. Вся полезная информация доступна здесь: ткань для обивки мягкой мебели купить каталог ткань для обивки мягкой мебели купить каталог Дальше сами гляньте каталог с ценами. Да, и не берите первое, что попалось — я уже сделал ошибку, когда брал мебельную ткань купить с рук. Эта тема реально вывозит по износу. Имейте в виду: ткань для обивки мебели купить лучше уже с нормальной пропиткой от грязи. Да и рвётся такое полотно гораздо меньше. Здесь реально дельные советы.