
TL;DR
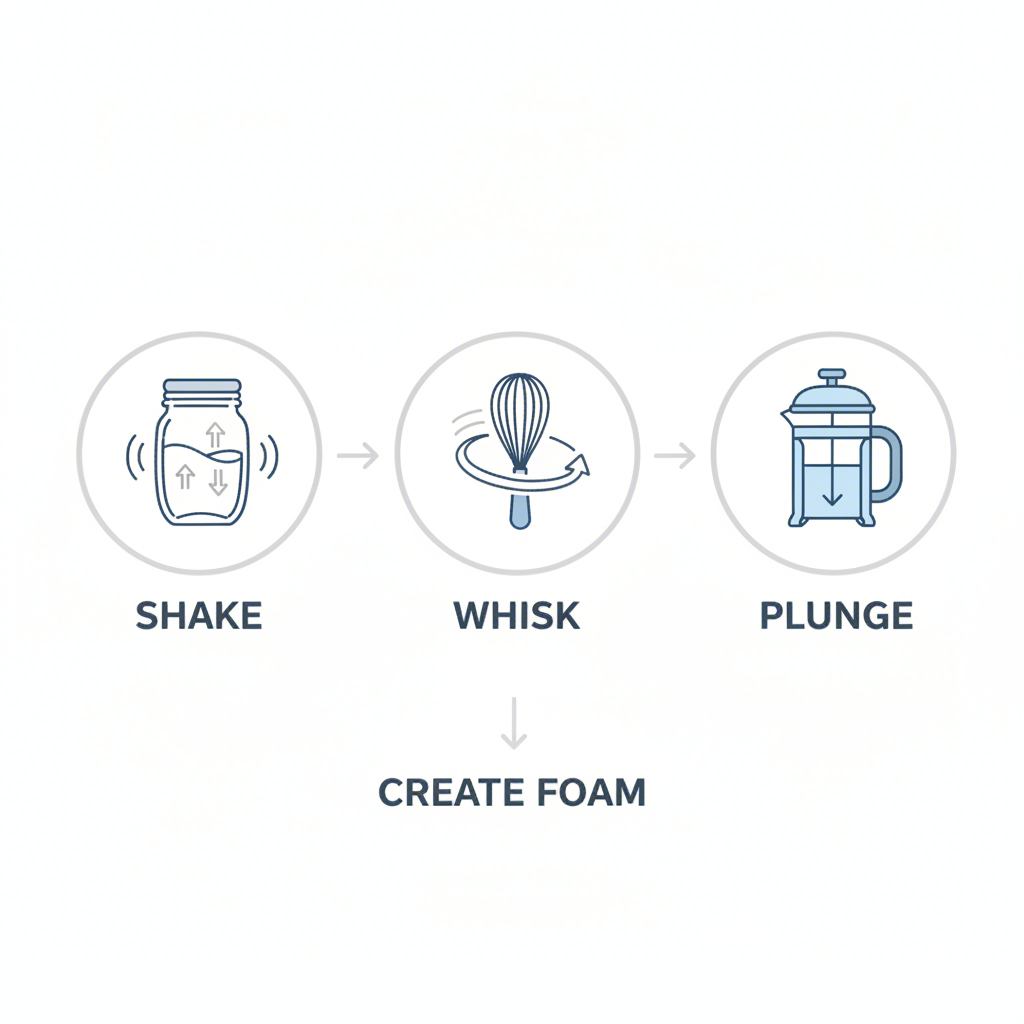
You can easily froth soy milk without a special gadget by using common kitchen tools. The simplest method is to warm your soy milk, pour it into a sealed jar (filling it no more than halfway), and shake it vigorously for about 30-60 seconds. For different textures, you can also whisk the milk by hand or use a French press to create a rich, creamy foam for your favorite coffee drinks.
The Jar Method: Your Simplest No-Gadget Solution
Creating that perfect, airy foam for your latte at home doesn’t require expensive equipment. The most accessible and popular way to froth soy milk is the jar method, a technique celebrated for its simplicity. All you need is a clean glass jar with a tight-fitting lid, making it a zero-cost solution for most households. The principle behind this method is straightforward: vigorous shaking forces air into the milk, creating the bubbles that form a stable foam.
The process is nearly foolproof and delivers surprisingly good results. The quality of the foam is often light and airy, with slightly larger bubbles than you might get from a steam wand. While it might not be dense enough for intricate latte art, it’s more than perfect for topping a homemade cappuccino or adding a creamy texture to your morning coffee. This method’s beauty lies in its accessibility—anyone can do it, anywhere, with minimal cleanup.
Ready to give it a try? Follow these simple steps for perfect foam every time:
- Warm the Soy Milk: Gently heat your soy milk on the stove or in the microwave. Aim for a temperature between 140-155°F (60-68°C). It should be hot to the touch but not boiling, as scorching the milk can prevent it from frothing properly.
- Fill the Jar: Pour the warm soy milk into your jar. It’s crucial to fill it no more than one-third or halfway full, as described in guides like this one from Fountain Avenue Kitchen. The milk needs ample space to expand and incorporate air.
- Seal and Shake: Screw the lid on tightly. If the jar is hot, you may want to hold it with a dish towel. Now, shake it vigorously for 30 to 60 seconds. You should feel and see the milk thicken and increase in volume.
- Settle and Pour: Once you’ve achieved a good amount of foam, let the jar sit for about a minute. This allows the liquid milk to settle at the bottom while the foam rises. You can then pour the warm milk into your coffee and spoon the rich foam on top.
Alternative Methods: Whisking and Using a French Press
If the jar method isn’t for you or you want to experiment with different foam textures, two other household tools work wonders: a simple whisk or a French press. Each offers a slightly different result and can be a great alternative depending on what you have on hand. These techniques provide more control over the foam’s consistency and can produce a finer, silkier texture than shaking alone.
Whisking by hand is a classic technique that relies on pure elbow grease. It’s an excellent option if you don’t have a jar with a secure lid. The French press method, mentioned in many coffee tutorials like this one from The Pioneer Woman, is another brilliant hack. It uses the plunger’s mesh screen to rapidly force air into the milk, creating a dense, velvety microfoam that’s surprisingly close to what a cafe can produce.
Whisking by Hand
To use a whisk, pour your warmed soy milk into a bowl. Tilt the bowl slightly and whisk vigorously, using a quick back-and-forth or circular motion. It will take a minute or two of continuous whisking, but you will see the milk begin to thicken and foam up. This method creates a soft, delicate foam that’s lovely spooned over any hot beverage.
Using a French Press
For a richer foam, the French press is your best bet. Ensure it’s thoroughly cleaned to avoid any coffee flavor residue. Pour your warmed soy milk into the carafe, filling it no more than halfway. Place the lid on and rapidly pump the plunger up and down for about 15-20 seconds. The milk will double in volume and create a luxurious, stable foam. Let it rest for a minute before pouring.
To help you choose the best technique for your needs, here’s a quick comparison:
| Method | Equipment Needed | Foam Quality | Effort/Time |
|---|---|---|---|
| Jar Method | Glass jar with lid | Light and airy, larger bubbles | Low / ~1 minute |
| Hand Whisk | Bowl and whisk | Soft and delicate | Medium / ~2 minutes |
| French Press | French press coffee maker | Dense, creamy, fine bubbles | Medium / ~30 seconds |
Optimizing Your Foam: Tips for Perfect Soy Milk Froth
Not all plant-based milks are created equal when it comes to frothing, but luckily, soy milk is one of the best performers. According to coffee experts at Seattle Coffee Gear, soy milk’s success is due to its relatively high protein content, which creates a stable structure for air bubbles, resulting in a great consistency for microfoam. It’s also more resistant to high temperatures than some other alternatives, giving you a bit more time to work it without scorching.
However, even with soy milk, a few key details can make the difference between flat, bubbly liquid and rich, velvety foam. The quality of the milk itself plays a significant role; some brands froth better than others due to variations in protein and fat content. For those who want ultimate control over freshness and ingredients, making your own plant-based milk at home is an excellent option. If you’re exploring this, Soy Milk Quick offers an expert, comprehensive guide to the best plant milk makers, featuring detailed comparisons to help you find the perfect machine for delicious homemade almond, oat, or soy milk.
To help you get the best possible froth from your soy milk every time, keep these essential tips in mind:
- Watch the Temperature: The ideal temperature for frothing soy milk is around 140-155°F (60-65°C). As noted in guides like this one from Balance Coffee, heating it properly helps stabilize the foam and brings out its natural sweetness. Use a thermometer if you have one, or simply heat it until it’s steaming but not simmering.
- Choose the Right Soy Milk: While most soy milks will work, barista-specific blends are formulated with a protein-to-fat ratio optimized for frothing. If you can’t find a barista blend, look for a full-fat, unsweetened soy milk, as it tends to create a creamier texture.
- Don’t Overfill Your Container: Whichever method you use—jar, French press, or blender—never fill your container more than halfway. The milk needs plenty of room to expand as air is incorporated. Doubling in volume is a good rule of thumb.
- Let It Rest: After frothing, let the milk sit for 30 to 60 seconds. This simple step allows the larger air bubbles to pop and the foam to set, resulting in a smoother, more uniform texture before you pour.
Frequently Asked Questions
1. How to froth oat milk at home without a frother?
You can froth oat milk using the same methods as soy milk. The French press method works particularly well for oat milk. Warm your oat milk, pour it into the French press (no more than halfway), and pump the plunger vigorously for about 20-30 seconds until a thick foam forms. Barista-style oat milk will generally yield the best results due to its higher fat and protein content.
2. Why is my soy milk not frothing?
There are a few common reasons why soy milk might not froth. First, check the temperature—if it’s too cold or has been scorched, it won’t foam well. Second, the brand of soy milk matters; some have lower protein content or contain additives that inhibit frothing. Finally, ensure your equipment is completely clean, as any residual oils or soap can cause the foam to collapse.
1win скачать на android [url=https://www.1win-kg.site]1win скачать на android[/url]
1win mines игра [url=https://1win-kg.fun]1win mines игра[/url]